This week, I decided to try making a lemon tart from Claire Saffitz’s book, Dessert Person. I thought it would be really fun because it involves three recipes—one for the tart dough, one for the lemon curd, and one for actually putting the whole dang tart together. It also gave me an excuse to use the tart pan that I bought last August but never used. It was going to be a multi-day experience, because why not?
My schedule was to do the following:
Wednesday: Make the lemon curd
Thursday: Make the tart dough
Friday: Assemble the tart together
There was chilling periods. I don’t think I could have assembled this whole tart in a day. I made the mistake of trying to do that once with a cake, and it was not fun.
Lemon Curd
It was arm day to make this curd. To get it to its nice opaque and thick texture after mixing the zest sugar and yolks+egg, I vigorously whisked this thing possibly to oblivion. In hindsight, I should have used a whisk attachment to a handmixer. I then juiced the lemons to add to the egg-sugar mixture. Because my hands were dry and cracked, this was not a fun experience. It turns out that acid also flares up my eczema. As a workaround after suffering the agony of juicing two lemons with my bare hands, I made a makeshift glove out of ziploc bags and carried on with my life with minimal pain. I really should get a juicer. Heating the mixture came together nicely on the stove and it thickened after a couple minutes. This came together much quicker than the pudding. 170F is the magic number. The process of putting together was very similar to making a pudding, except with no milk and cornstarch involved. It thickened quite a bit after being left in the fridge over the next few days.


Sweet Tart Dough
This dough is otherwise known as pâte sucrée. I was very excited to make this dough and actually use the 9-inch tart pan I made, as well as making my first dough using a food processor. Claire’s video for putting together this dough was very helpful. Toasted almond flour smells amazing and comes together much more quickly than I expected. After whipping up the dough, I made a makeshift disk out of it, like pie dough. Though the instructions said that it would cool and harden after chilling in the fridge for 30 min, the dough never became as rigid as Claire’s had in her video, even after an overnight chilling period. Luckily, it didn’t seem to pose many problems when I began to shape it into the tart pan (using the strip method for the sides made a lot of sense!). One thing I would have changed was making sure the dough half for the bottom was more evenly distributed across. Through the process of pressing the dough to cover the bottom and connect to the sides, I had to push dough around to make sure it wasn’t just one half of the dough that had the majority of the crust bottom. For good measure, I froze the dough for at least 20 minutes before putting it into the oven.
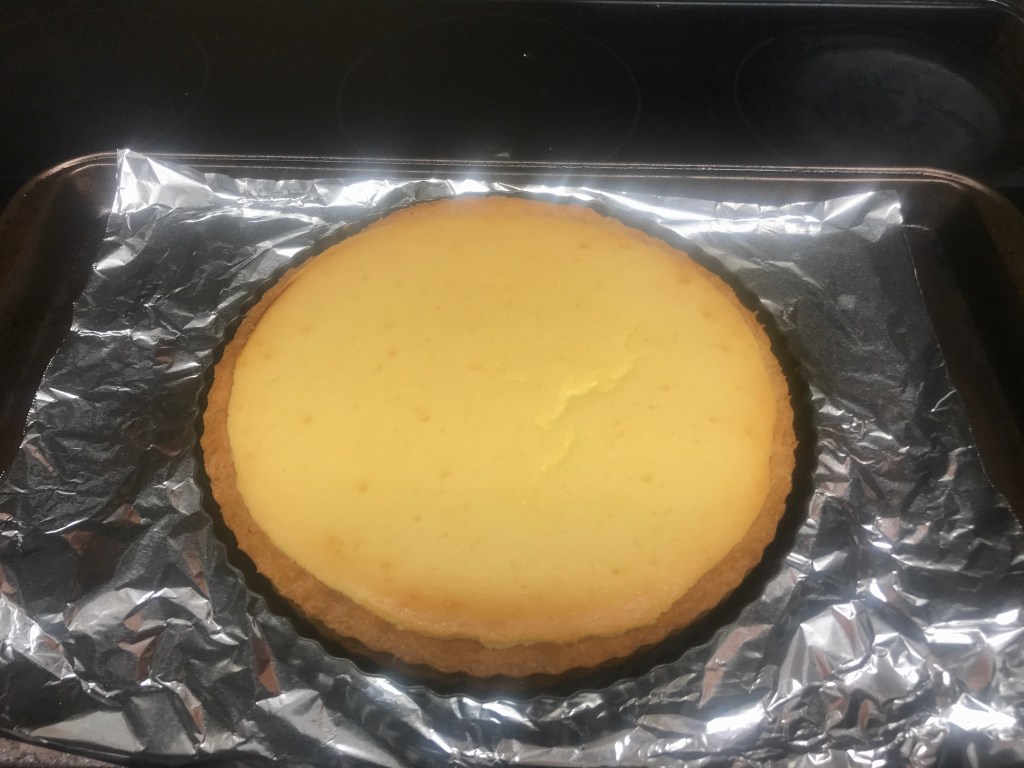
Claire used the foil method of pressing the foil to the sides and bottom of the pan to keep the sides from slumping and the bottom from rising. I did still see some of the bottom rising but docking the crust thoroughly seemed to solve the issue. It took roughly 35 minutes to be par-baked. Maybe it is still worth using pie weights, even in this instance.
The crust smelled so good! I am so happy with the way this crust turned out. It didn’t break or shrink! Upon seeing this crust, it made me very eager to try making it again for a different tart.


Lemon Tart
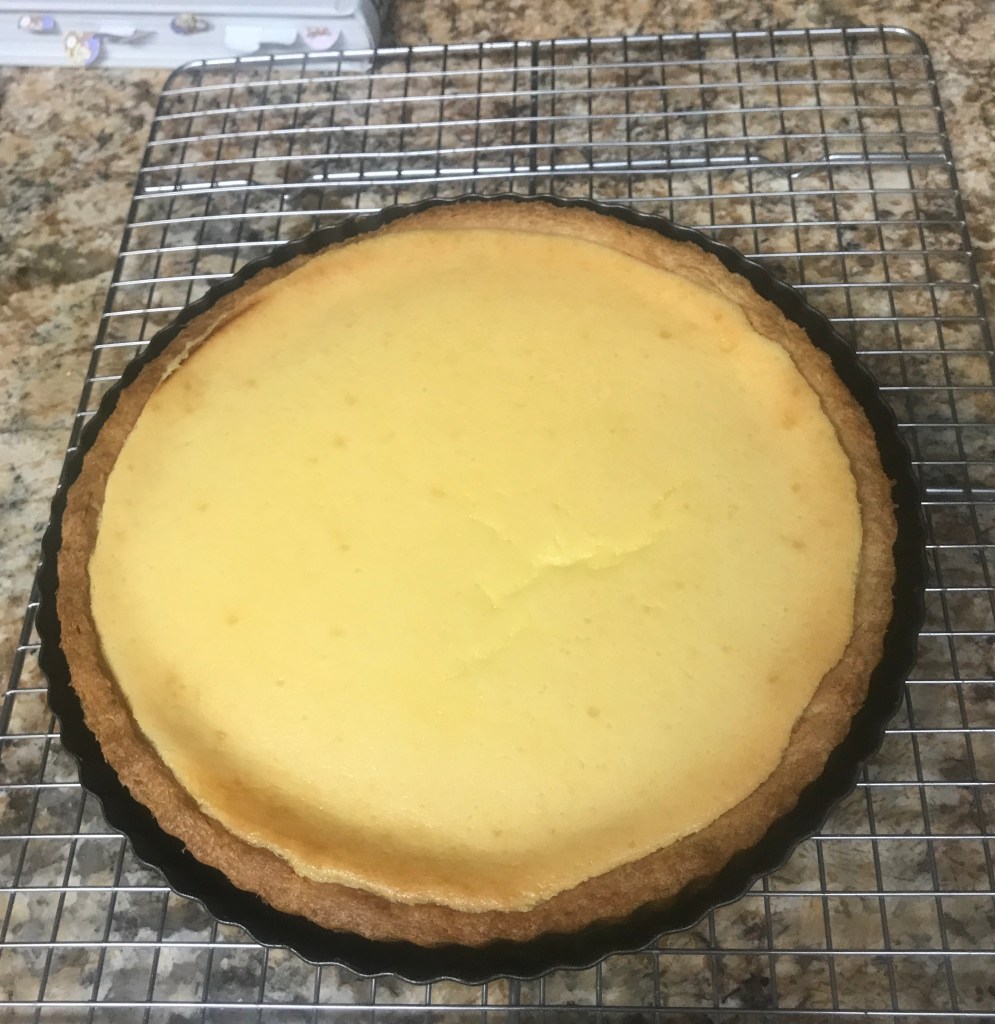
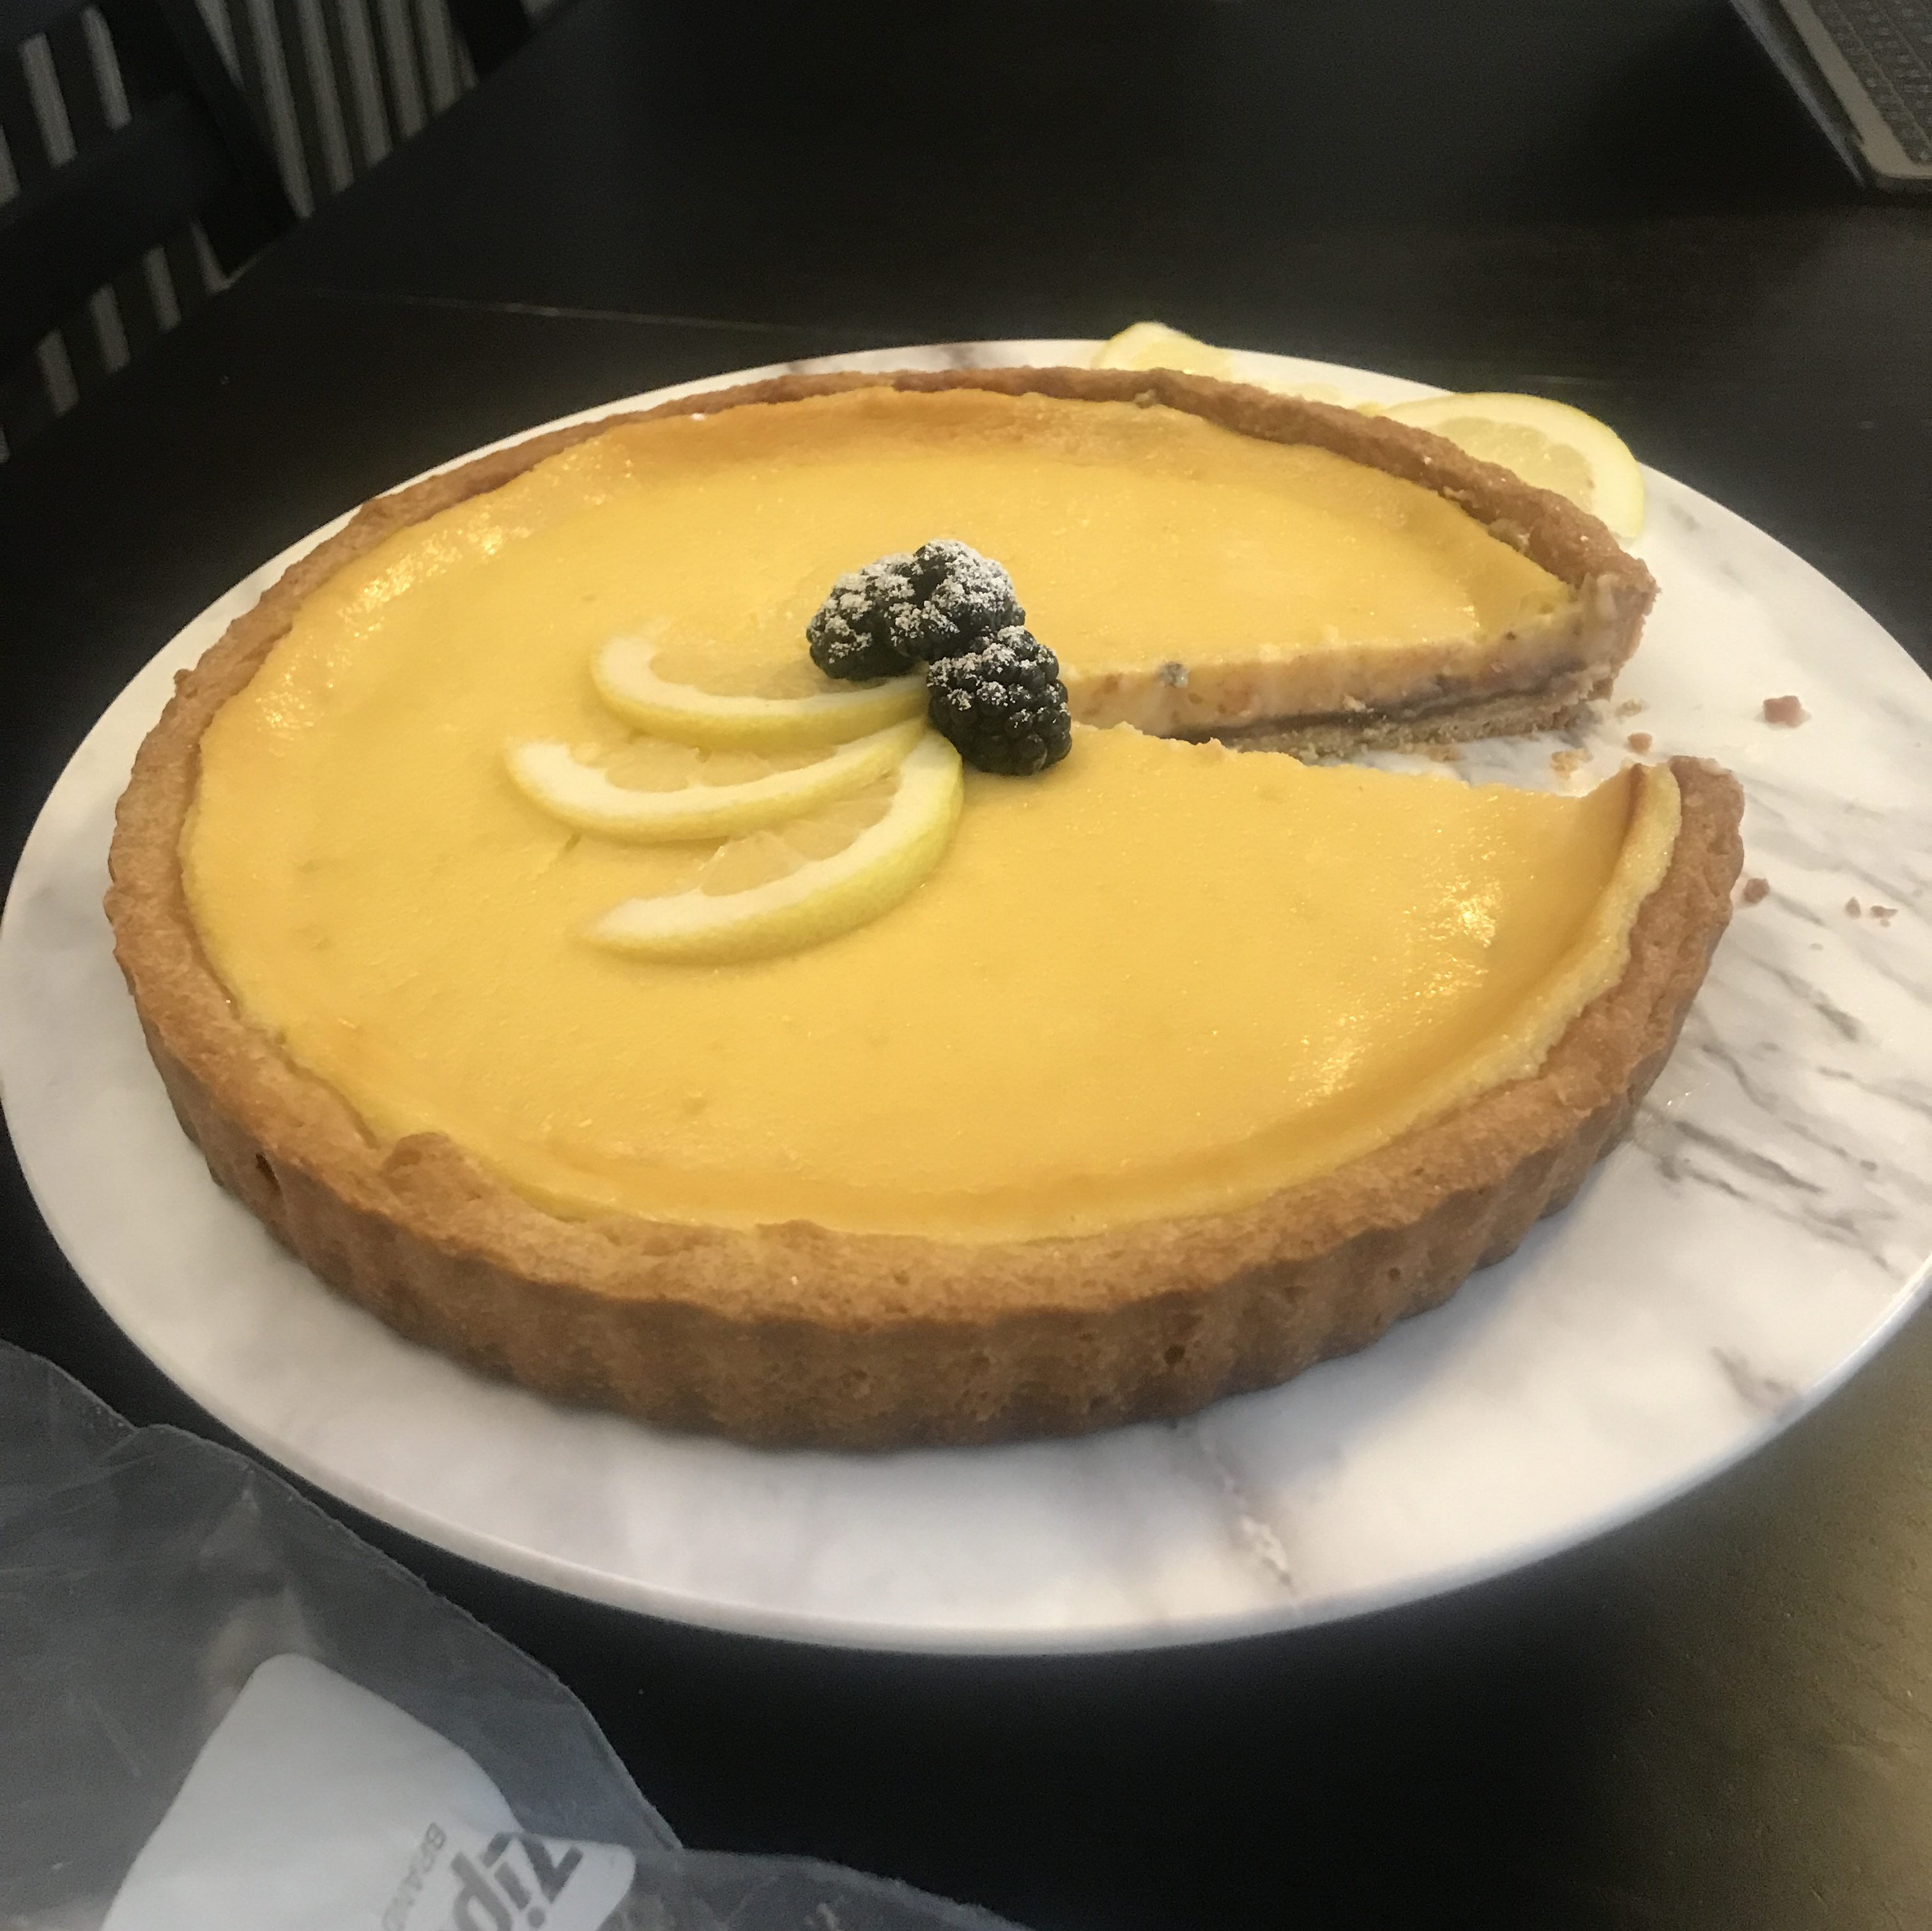
Assembling the tart was probably the easiest part of this recipe. I layered down some blackberry preserves to seal the bottom so it wouldn’t get soggy. I think I could have parbaked this jam crust less at 5 minutes, instead of 7 minutes, since I was already going to continue baking the crust anyway. After mixing in some yogurt with the lemon curd, I poured it into the crust and started to bake it. Because I noticed the crust browning a little too fast for my taste, I placed the pie shield on it, which seemed to help it a bit. However, an effect that I did not account for was the metal edge from the shield also causing some browning on the curd (which could be seen on the edges). Because of some problems I have heard about this curd not properly setting when baking, I baked it for longer at closer to 39 minutes but I think it ended up being a touch overbaked. I could have probably baked it for closer to 35 minutes. Nonetheless, it looked amazing!
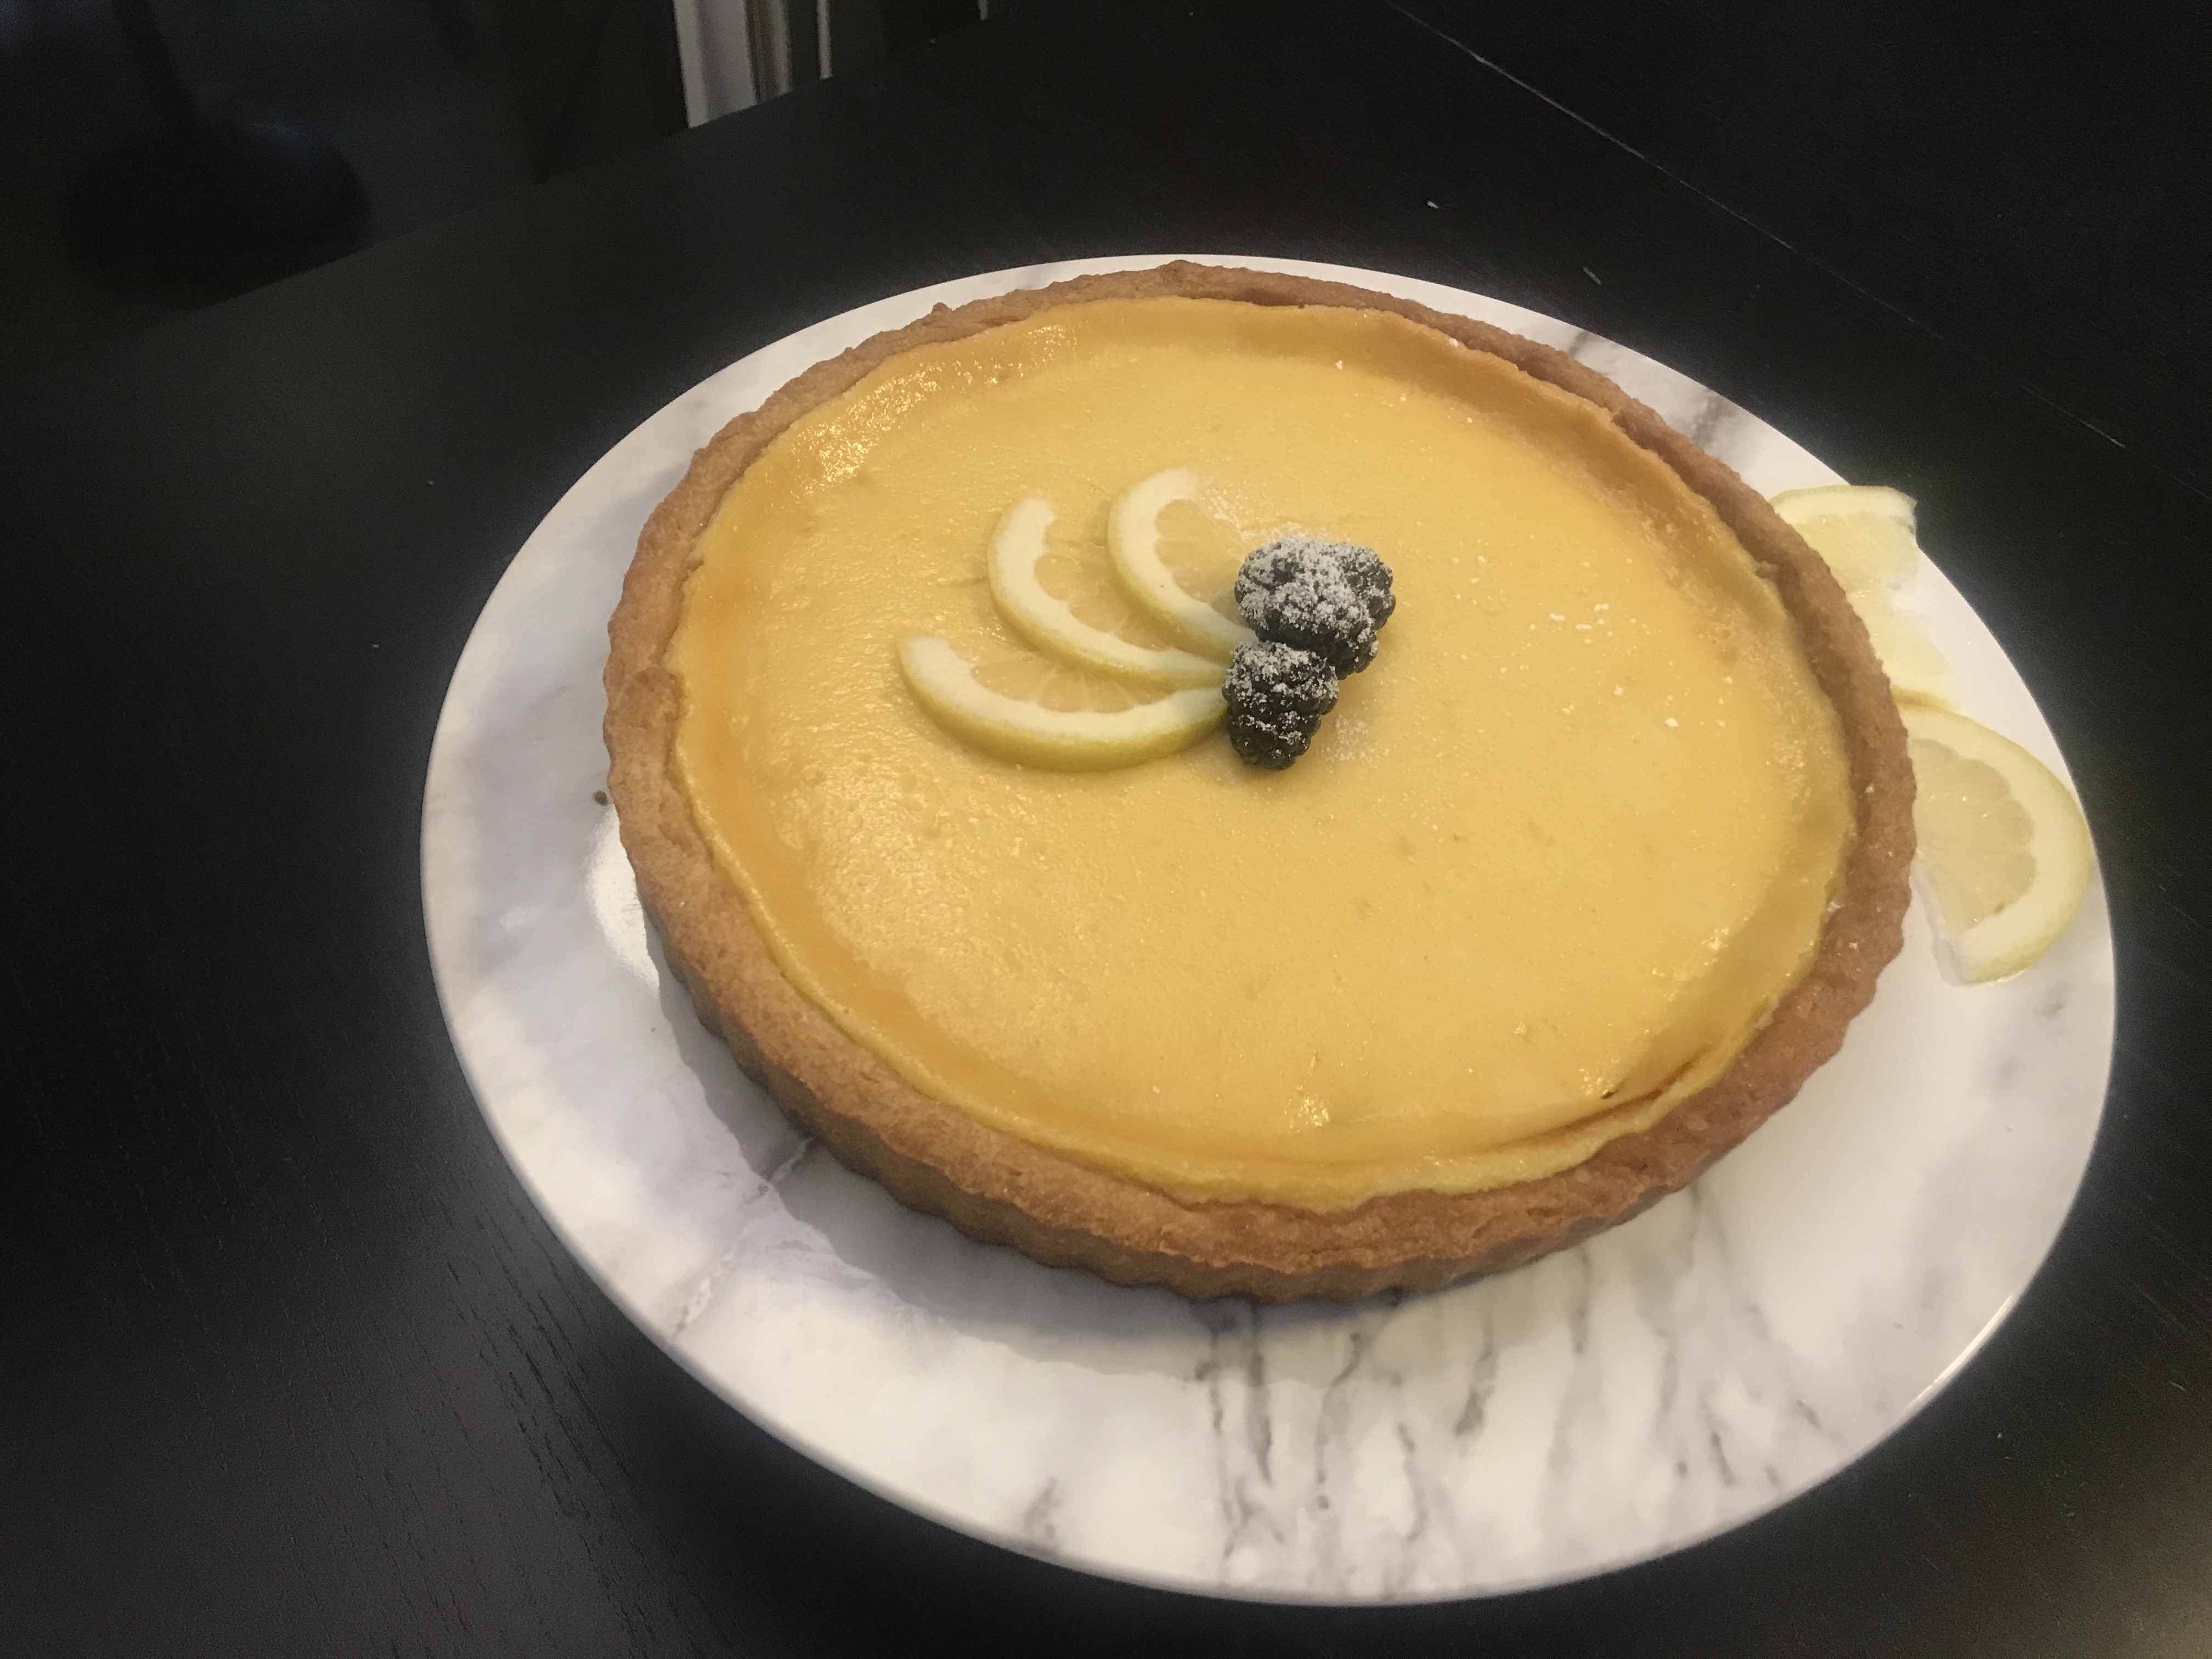
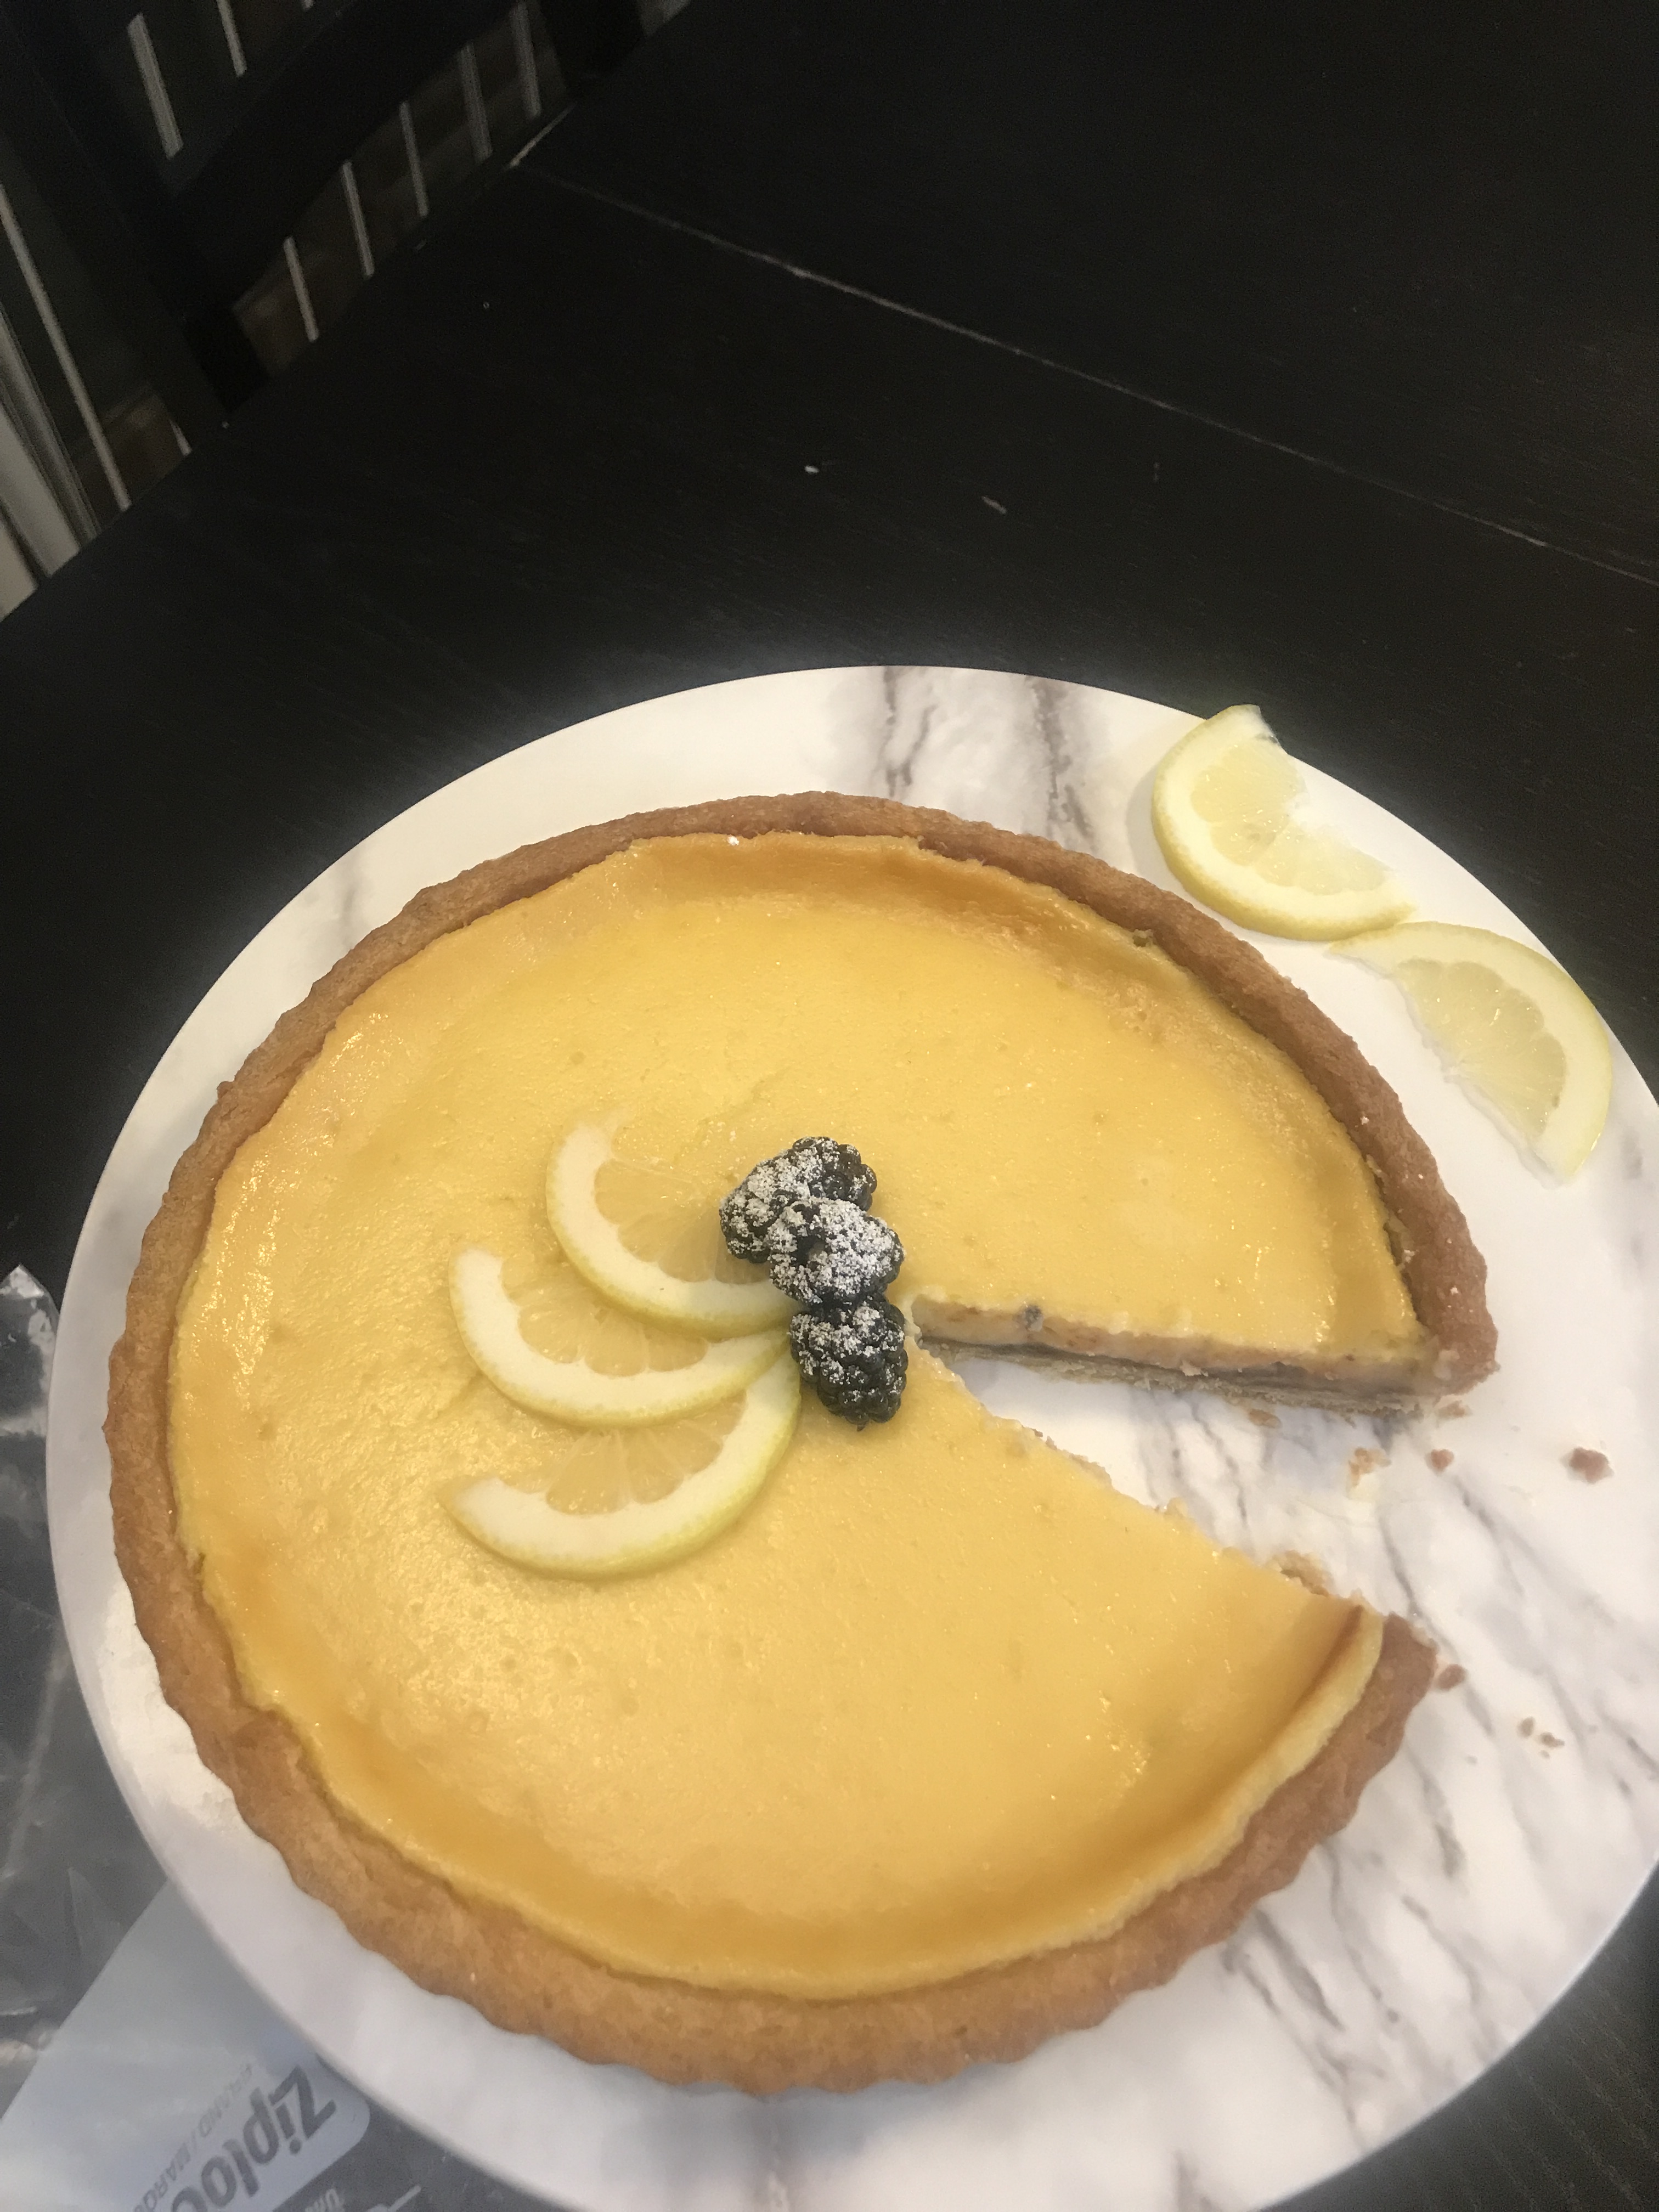
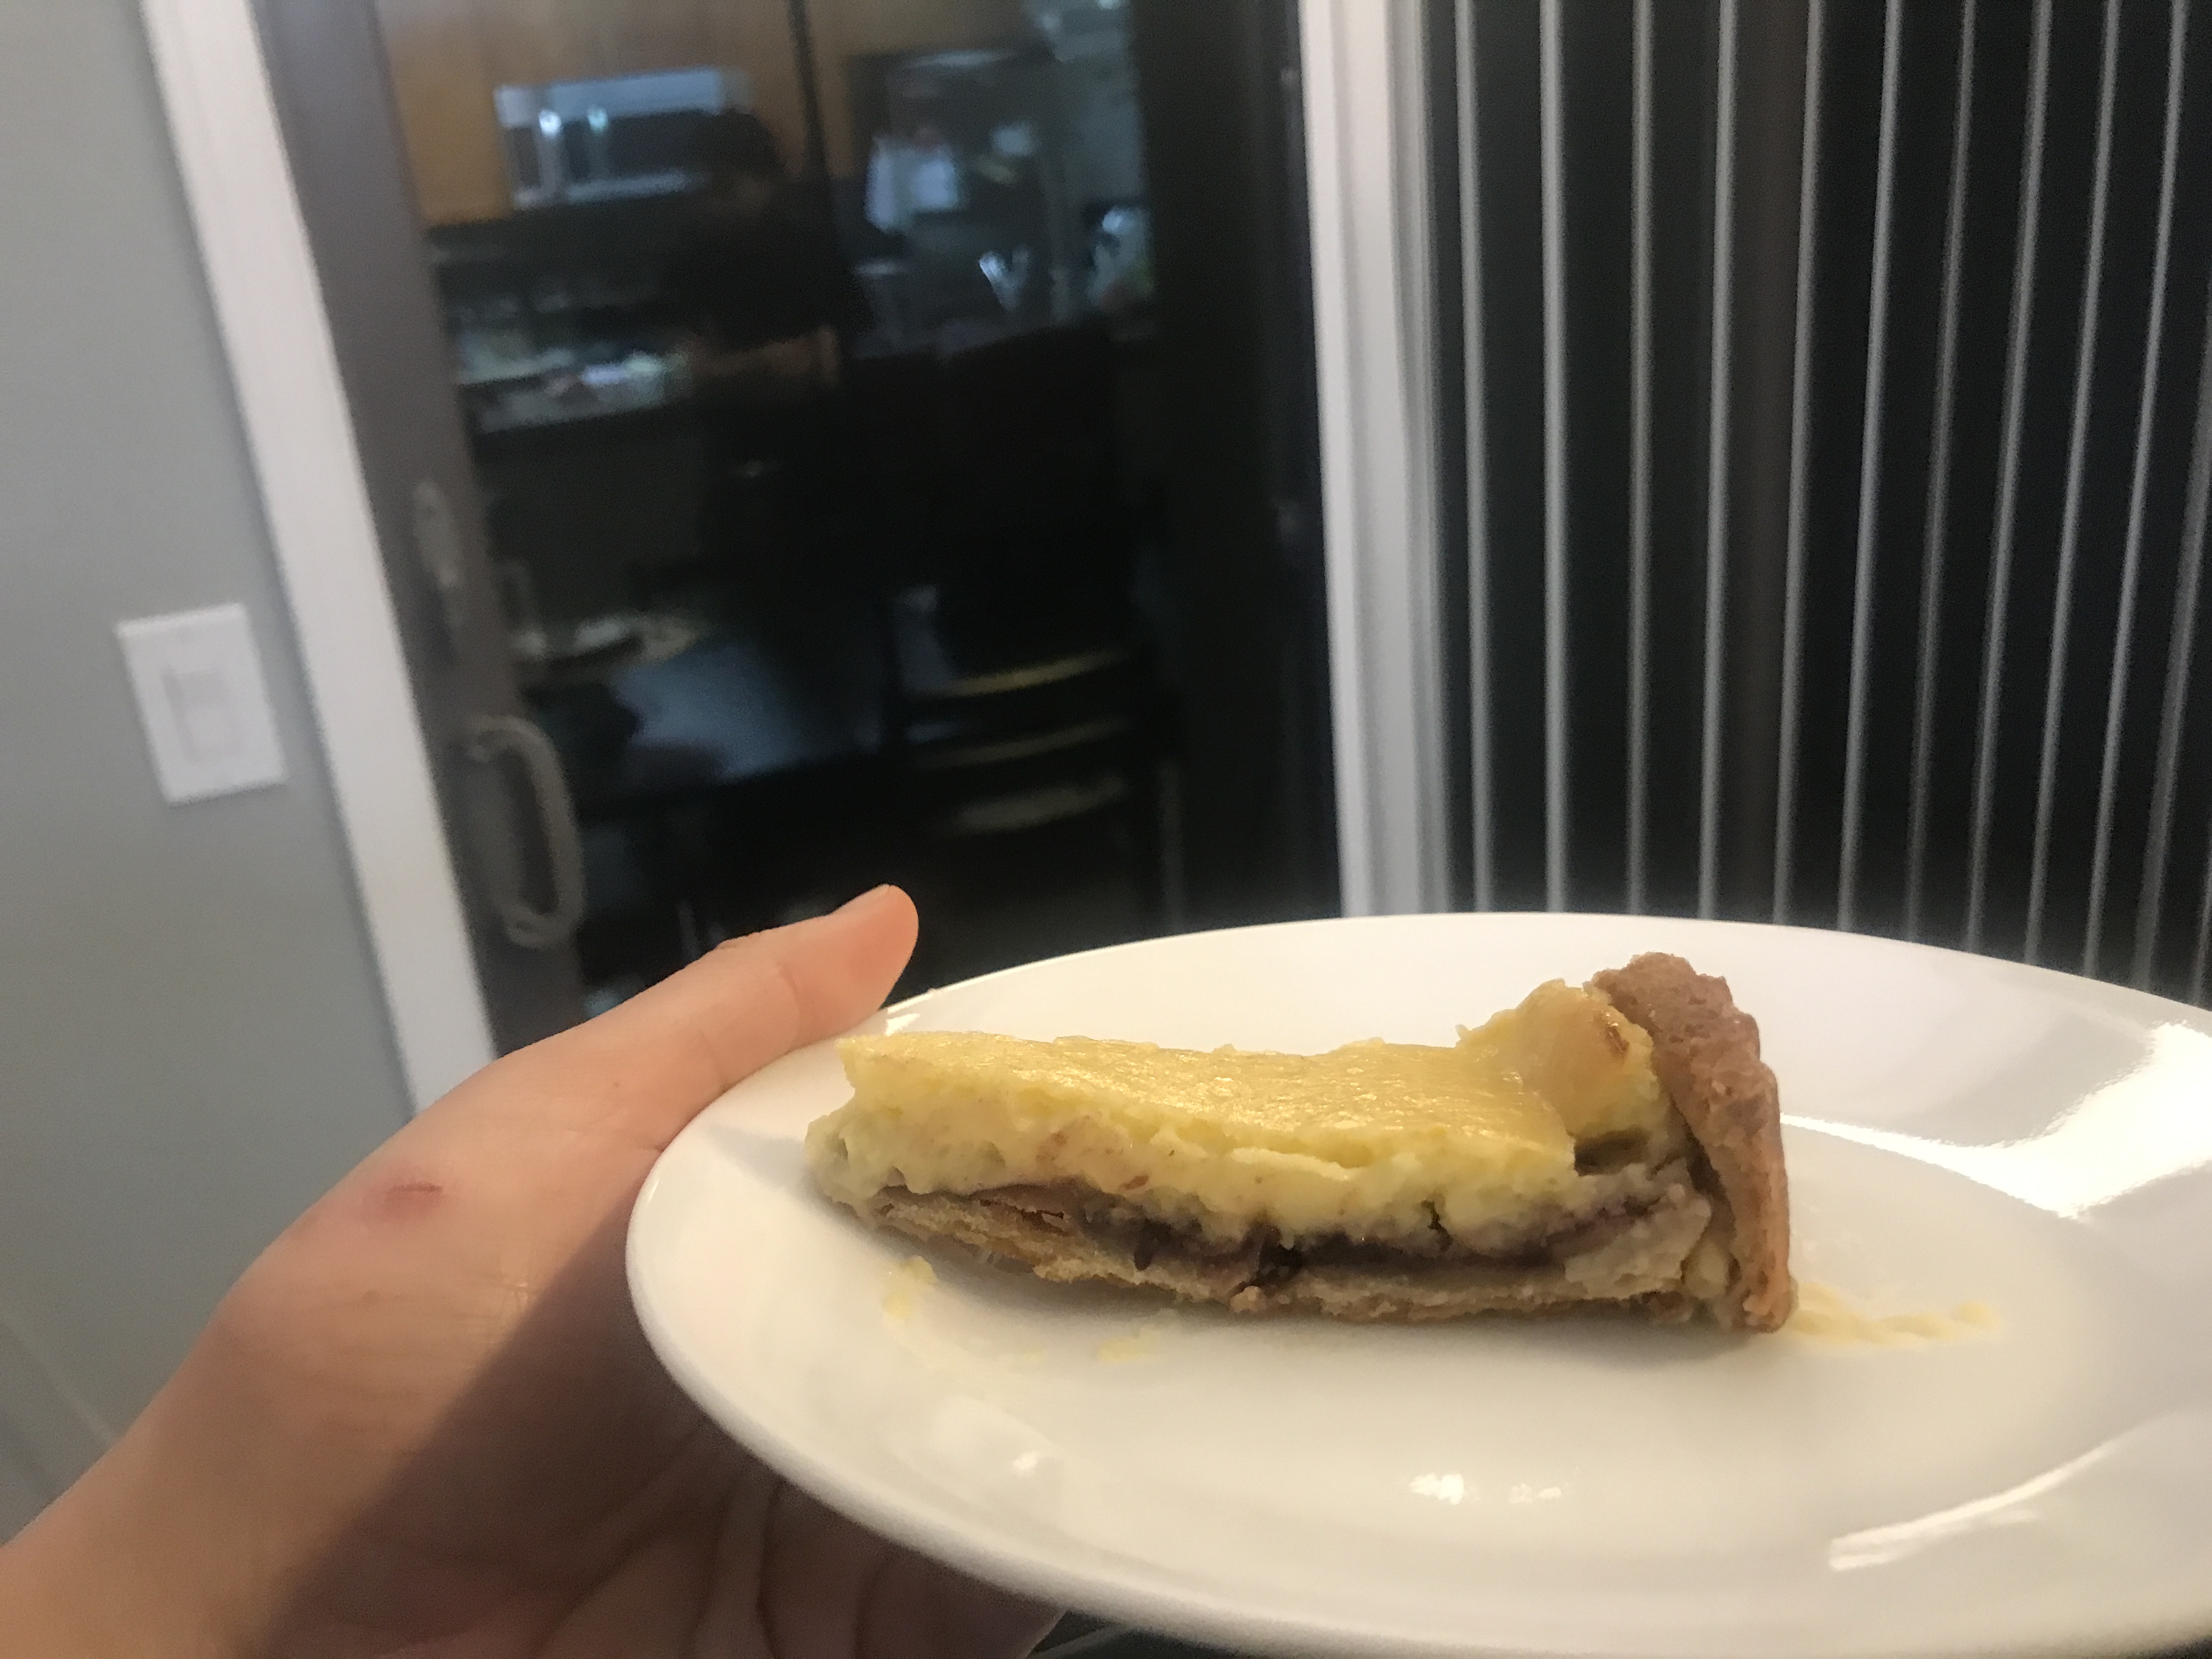
I used a few lemon slices and blackberries to decorate it after it cooled over the next few hours. The crust was a little hard to cut through with a pie server and required a bit of force from a knife. However, it was very nicely clean cut. The filling did shrink and separate away from the crust, which may have been due to the sudden temperature difference from the oven to the cooling rack? Maybe I could prop open the oven and slowly transfer it to cool down to see if that would help.
The tart tasted quite sour, which Claire also warned about. However, paired with the blackberry jam and blackberries, the sour taste was balanced. One improvement I would make would be to add more jam or more sugar when making the curd. [Update 1/23/22: The taste grew on me, I would not add more sugar/jam to this.] Overall, I was satisfied with this dessert.
Maybe next week, I will make a fruit tart with the same dough.

Leave a comment