Continuing on the pie train, I had enough dough to make a small pie, giving me the excuse to finally try out the 6-inch pie plate I impulse bought. Because I had some strawberries in the fridge about to go bad, I made a strawberry-blueberry pie, based on the Classic Cherry Pie recipe from Stella Parks’ BraveTart. The same recipe can also be found here on SeriousEats.

A long time ago, I did make a berry pie, a pie for July 4th. It took me a stupid amount of time to make, especially the stars, and I think it was the first pie I ever made. I don’t remember what it tasted it like but only that it was a pain to make. My main takeaway is that I will probably never make a pie like that again. There are better ways to celebrate America.
I still stand by that statement today in 2022.
I also recently borrowed the Lauren Ko’s book, Pieometry, which had some cool pie designs that I wanted to try, particularly her Spoke Signals design. I also tried to recreate her design on this pie too.
Using the other half of pie dough that I didn’t use on the apple turnovers, I made the pie crust and molded it into the 6 inch plate, making my usual fluted raised crust design. I left it to chill in the fridge overnight. I also rolled out another piece of dough and cut it into 1/4″-wide strips for the “lattice” design.
The Filling a.k.a How bout some science?
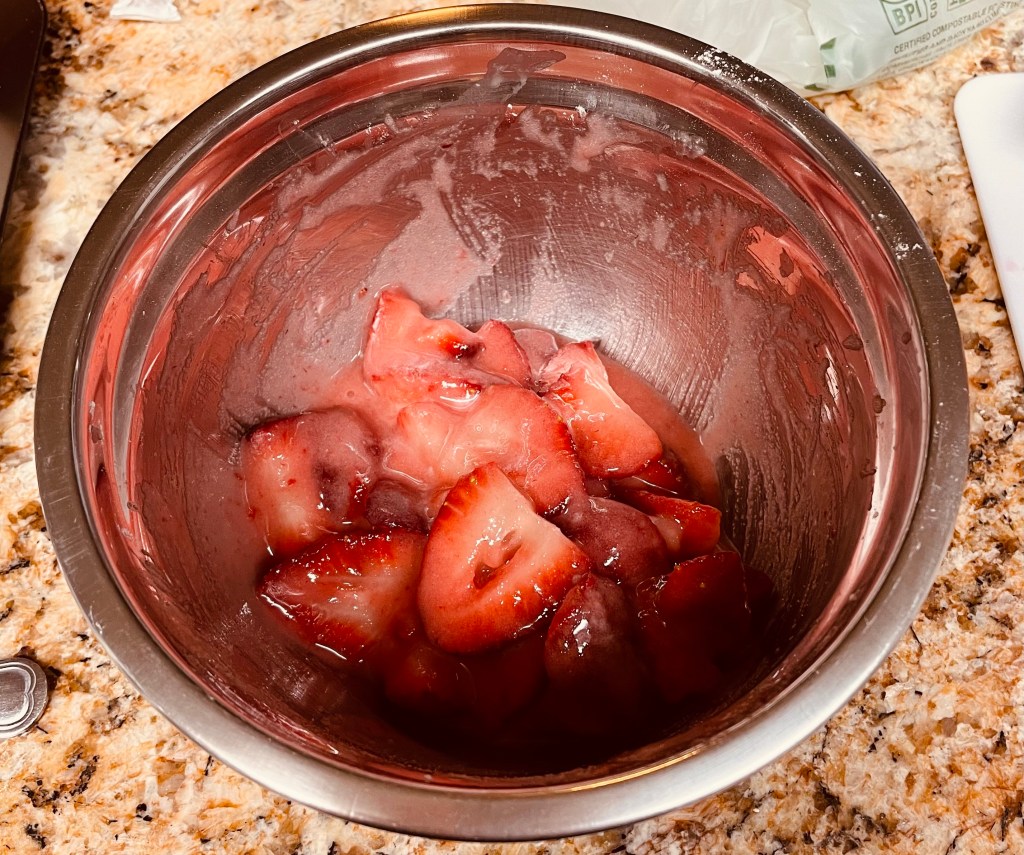
Next step was the filling. What’s pretty cool about this filling is that Stella Parks uses a fixed ratio of fruit:sugar (4:1 oz ratio) with a fixed percentage of 5.5% tapioca starch . As long as you know one amount of something you’ll use, you can easily calculate the amount you need of the other key components. This was the ratio she figured out to have a pie that was not too gloppy and too soggy while still looking juicy and able to retain its shape.
To make a filling that isn’t too gloppy, Stella suggests using tapioca starch, which doesn’t create a thick, cloudy goopy mess as maybe flour or another starch would run the risk of doing. The caveat of using tapioca was that it usually starts to gel at 140F/60C and starts breaking down at higher temperatures at 190F/88C (which is pretty low for cooking), which is pretty low. For a pie that needs to bake at a much higher temperature of 400F, there is a problem.
To counteract this problem, she adds sugar, which raises the heat capacity of the fruit liquid/filling, which in turn raises the gelatinization temperature limit of the starch. Adding sugar crystals to a liquid requires more energy to get a liquid to boiling, due to space and crystals absorbing the energy that water molecules would usually absorb to raise the temperature. Water-starch molecules are now competing with sugar to absorb energy, requiring a higher cooking temperature like say…400F.
Science is so cool.
Pie Design
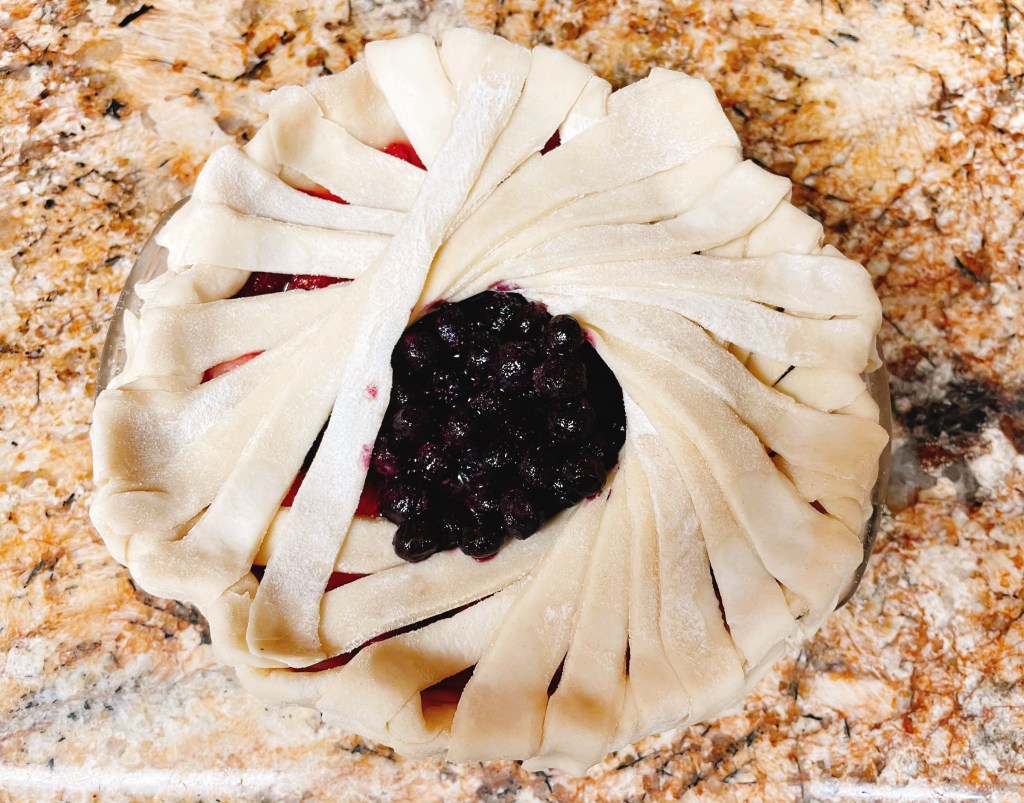
After a quick toss of combining the pie filling ingredients together and placing them in the pie, I was now left with making the pie design. Since I did not have a cookie cutter small enough to fit at the center of the pie, I used a glass cup…which ended up being less than ideal in that because how heavy the glass was, probably in comparison to a cookie cutter. With the help of a roommate who kept the glass in place as it was slowly sinking into the filling, I started laying the 1/4″ strips of dough in a way that grazed against the glass cup and laid slightly on top of each other. The idea was to create an optical illusion of a curving spiral design with a circle hole in the middle.
I started off pretty strong but as I ran out of pieces towards the end, you can start to see where the pie design start to go south. But hey, at least, it looks pretty strong in the beginning. I tossed in a few frozen blueberries in sugar and placed it in the gaping hole of the center of the pie.
I trimmed the overhang and pressed the strips onto the pie edges, sealing it with some water, before putting the whole pie in the fridge to chill for the next 40 minutes.
After chilling and generously applying an egg wash (1 egg + 1 tbsp of heavy whipping cream), it was time to bake it. I placed a parchment-lined baking tray underneath the pie plate and let it bake for 45-50 minutes, just enough for the pie filling to reach 212F.
I gave the pie an overnight timeframe to cool down to a temperature where the filling had enough time to cool down and stiffen to make a clean, not liquid-y, slice.
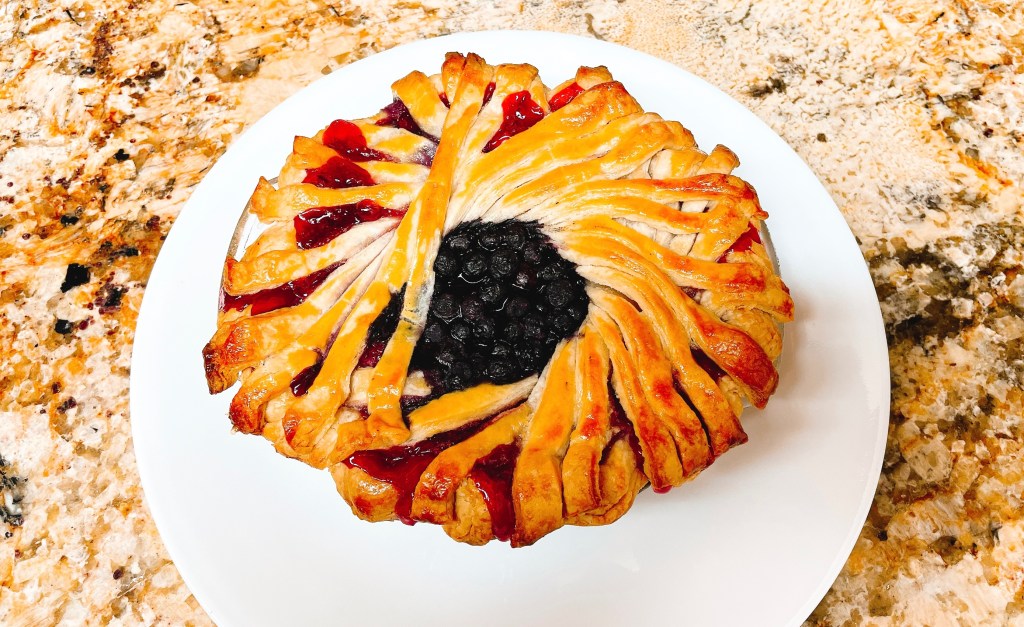
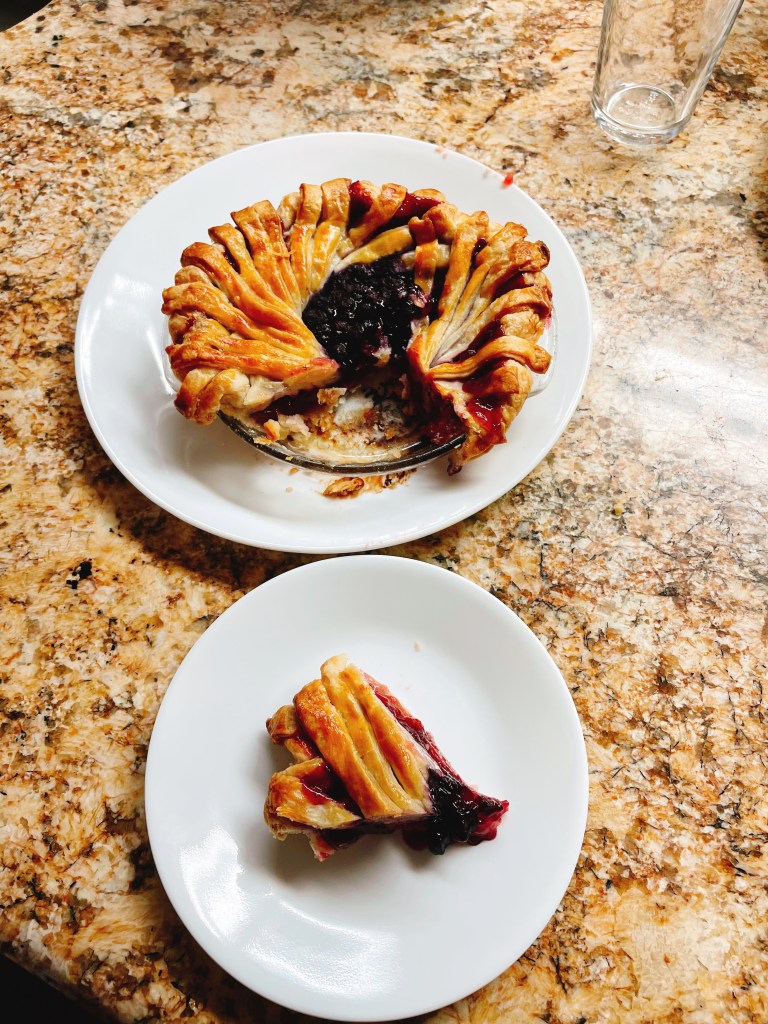
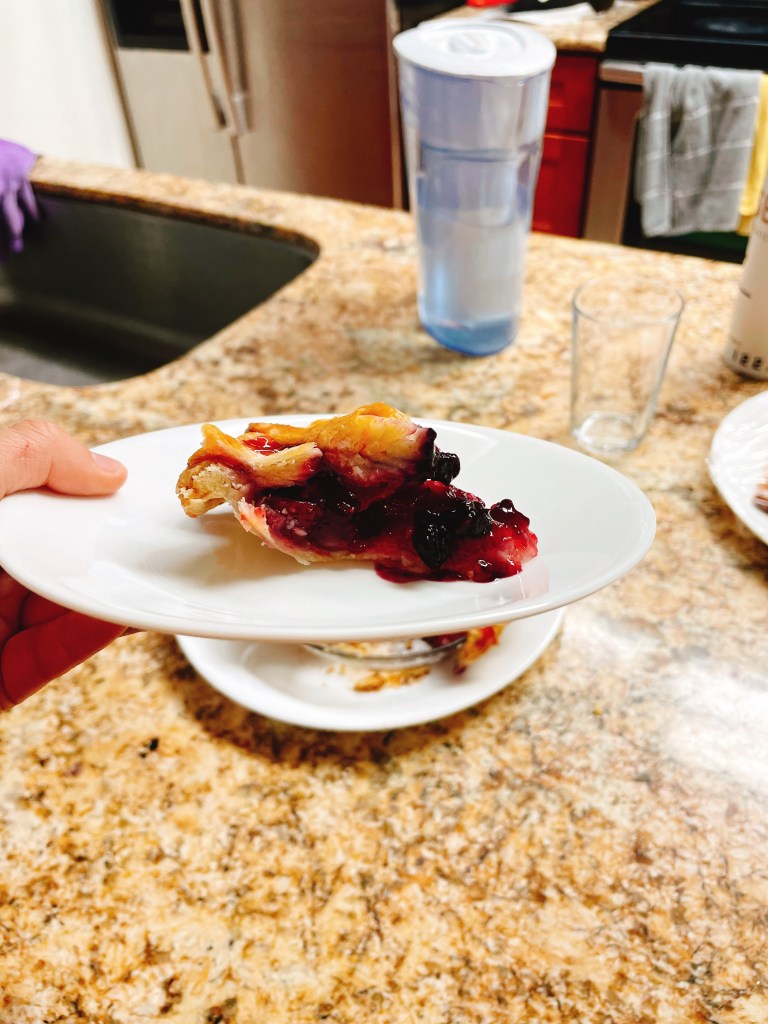
The results were pretty good. It was so satisfying to get a nice clean slice from the pie–no weird breakages from the pie crust, no missing bottom crust, and no runny filling. Just seeing that even before tasting the pie made me really happy. My roommate liked this pie because it wasn’t overly sweet and didn’t feel like she was giving herself a cavity while eating it. Paired with some Haagen Daaz vanilla ice cream, this dessert was pretty dang fine. As far as berry pies go, this was a pretty good one and a nice way to use up some leftover fruit that was definitely about to go bad and try a new pie design as well.
Definitely a much more pleasant experience this time around than making a patriotic berry pie.

Leave a comment